THE GUEST HOUSE CHRONICLES ~ A MINI-LOOK INSIDE THE CONSTRUCTION & DESIGN OF A MINI-HOUSE

CHAPTER TWO
Here we are about two months into our guest house project. We have what I would call a giant playhouse made of plywood. Charlie Melvin and his team at CaliADU have been working away and it’s really happening! We are starting to see the shape of what’s to come.
This post won’t be chock full of pretty pictures because we‘re not at that point yet, but it should provide a good peek into the process of building an accessory dwelling unit (ADU) or a small home in California. To see what we’re aiming to accomplish with this little house, check out Chapter One of The Guest House Chronicles, which includes architectural plans and some initial renderings and ideas for the interior design.
The renderings above and below provide a glimpse of the vision for the exterior.

As you can see from the images above, this unit is designed to look like a proper mini-house. We love the idea of a small cottage rather than a shed or garage conversion look, which is common in SoCal for ADUs. The challenge is that we only have 800 sq. ft. to work with and we want to have a designated space for the pool lounge. To be honest, when the project had just begun and the crew dug out the footprint for the foundation, I was really worried that the house looked super small. I couldn't imagine how a kitchen or bedroom would fit where they were supposed to be.
But, when you’re looking at dirt in the ground, you see only one dimension, which makes it difficult to imagine the full area the home will occupy. Now that our little house is framed and has a roof, it looks substantial, both from the inside and out! The high ceilings create the illusion of more living space and the sky lights keep everything open. See some photos below taken of the interior of the main living space.


THE PROCESS SO FAR
Charlie’s team started by digging the foot print where the foundation would go. This required some deep trenches and wood framing to shape the concrete slab foundation. Then the plumbers came to run lines to bring water to the house. Ducts were placed where we will need to run subterranean lines for electrical and plumbing and then finally the foundation was poured. See the video below of the crew pouring the foundation.
Once the foundation had dried, the crew began framing. It was incredibly satisfying to watch the home take shape, practically overnight. Here is a video of the framing happening. Very exciting.
After the framing was in place, the electricians and plumbers returned to start running the lines throughout the house. A different crew started digging a trench to bring all the utilities from the street. I’m so grateful that these ugly lines will be subterranean.
SOME SPECIFICS FOR CALIFORNIA PROJECTS
If you are building in California, there are a few accommodations you may need to make with your project.
For one, in 2011, California started requiring fire sprinkler installation in new 1 and 2 family homes. Fire sprinkler systems are separate and apart from the other utility systems that run through the walls of a home and installation typically requires a separate crew with specialized skill with these systems. Fire sprinklers also require a separate inspection.
Second, in accordance with the California Solar Mandate, all new residential construction projects must have solar power systems installed. This is another system that will often require a separate crew to install the system, although many contractors do their own solar and some hearty home owners are skilled enough to DIY them as well.
We brought in a crew to run fire sprinkler lines to each room and we will also hire a solar company to set us up for solar and install the panels. Since these rules are designed for safety and to make the home energy efficient, even though it’s an additional burden, we’re all for it.
DECISIONS, DECISIONS
I’ve said it before, but I personally need to repeat it to myself again and again: It is always smart to get ahead of the design process and know your desired end result, down to each detail, well in advance. I wish I could say that it’s fine to wait until you have a finished shell before you decide on how your home should look inside, but that’s just not practical. Here’s why…
On any project, there are myriad questions that must be answered. There are technical questions, like placement of electrical and plumbing. And, there are all of the aesthetic/design decisions, such as layout and fixture, material and finishes choices.
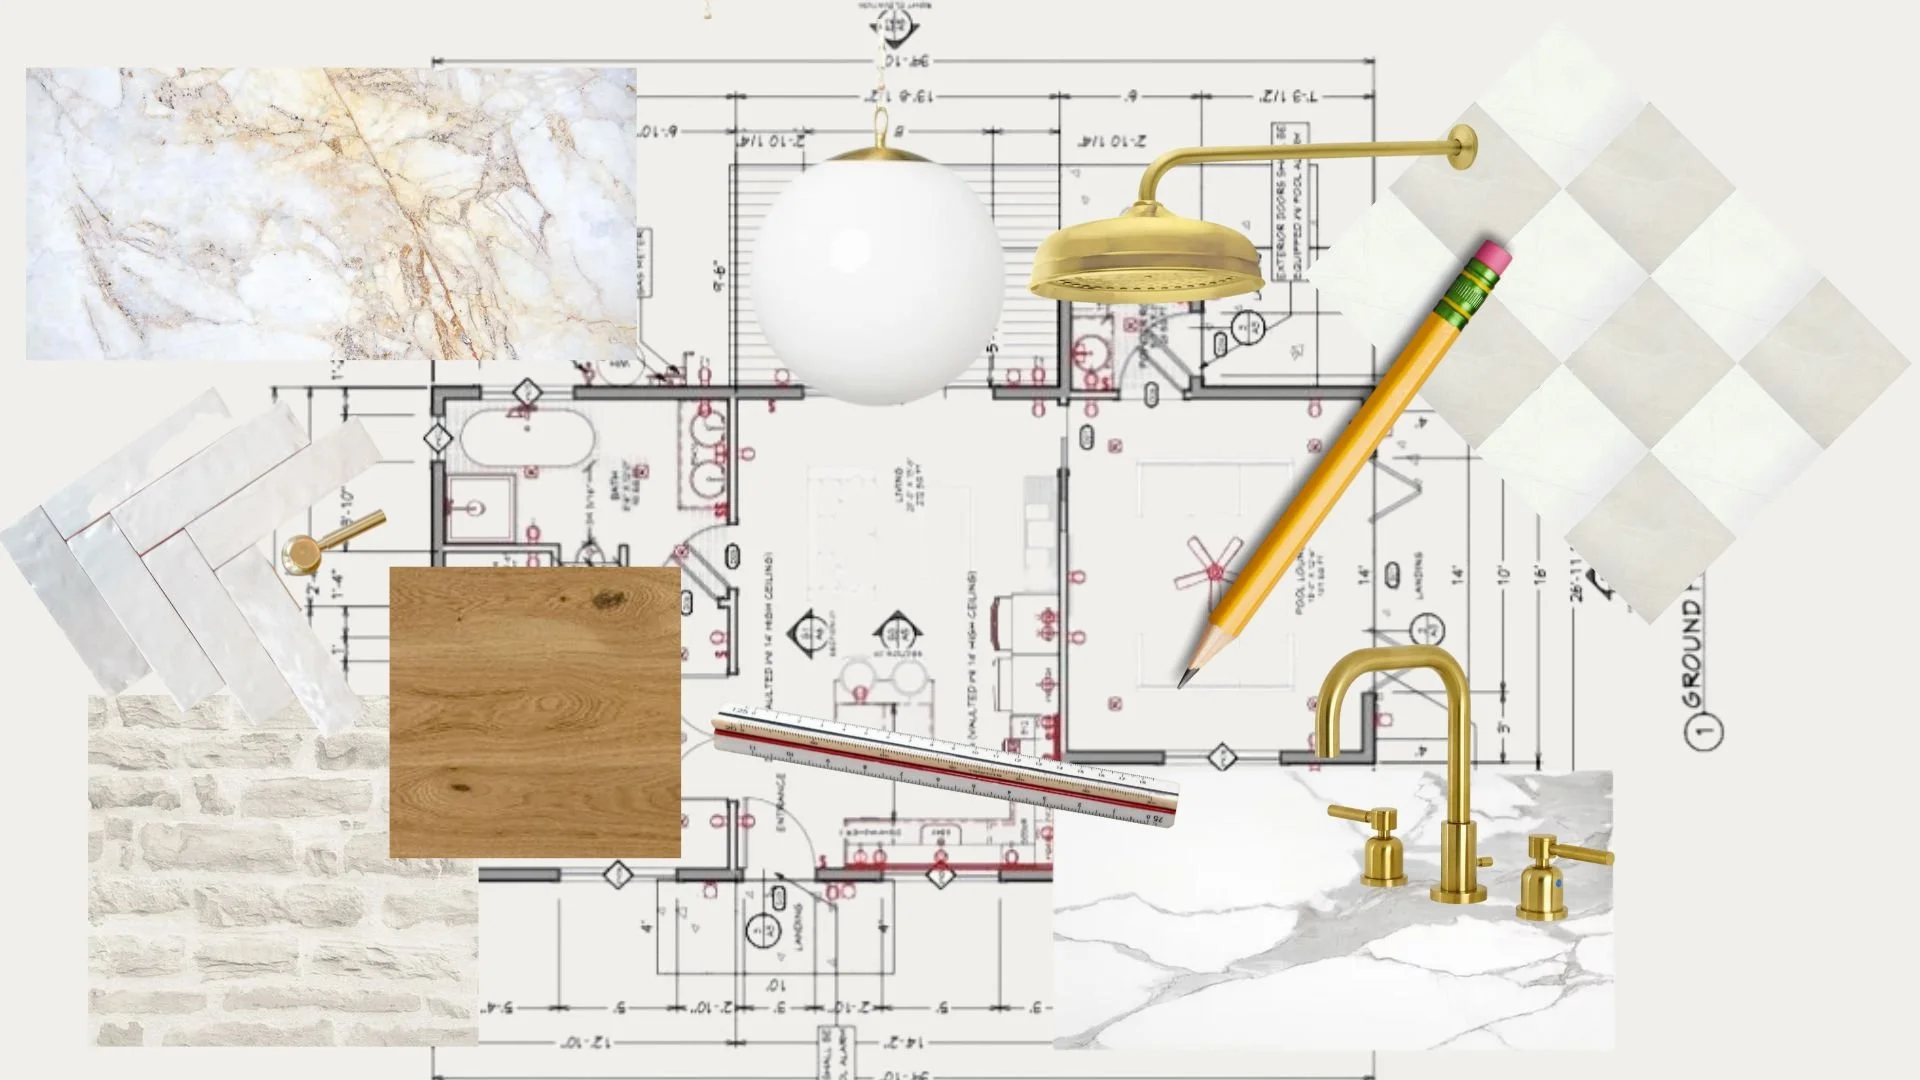
Unfortunately, the these two categories of decisions (the technical and the aesthetic) cannot be bifurcated. When your walls are open, you need know almost everything that will go into the design, such as, single versus double sinks in vanity, sconces versus pendant lights, wall mount versus floor tub filler, and on and on… These things should all be determined before you close up your walls. The graphic below illustrates our point.

It is also in the early framing stage where you have the opportunity to design drywall built-in shelving or framing for unique features like pocket doors, etc. And, if you can finalize minute details, like placement of art work, table lamps, TVs, etc., you can place lights and outlets in just the right spots, so you avoid running cords across the room and your home is more custom. The more you know in advance, the better the result.
In our view, knowing how each room will function, right down to furniture layout, is important because this is when the “game changer” decisions are made. The features that are conceived at this point are those that bring in the real charm and uniqueness of a home.
Certainly you can wait on making color and some material choices, but you should know as early on as possible what you are planning for your final design, right down to your shower system manufacturer, so that you won’t be locked into fewer options as things progress, or simply be unable to accomplish your desired result because it’s too late to backtrack without ripping out walls.
OK, I’ll stop with the lecture.
WHAT’S TO COME
Next, the “rough” plumbing and gas lines are going in and electrical is being run for each light fixture. Rough plumbing includes the valves for shower systems and any other systems that must go behind the walls. Basically we are finishing the organs that will make the home run. Then the windows arrive and things start to move even more quickly.
In our next post, we’ll be presenting an update on the process and offering more insight into the design and the choices, choices choices, we are making as we finalize the look and feel. Stay tuned!